Tutorial: your first prop
You will describe a vending machine in one sentence and end with it standing in Night City: solid, glowing, and yours to place anywhere. It takes about 30 minutes, most of it waiting.
| You need | EDGEfab and REDcode installed, a Tripo key and an OpenAI key, and a REDcode project open. To place it: the game with REDnode and EDGEbuilder |
| It costs | About 60 Tripo credits, and a few cents of OpenAI credit for each picture |
| No keys? | Bring a .glb of your own instead: right-click it in the Explorer, Make a Prop (EDGEfab), and start at step 4 |
A project is the folder your mod is built in. If you have none, make one in REDcode first: REDcode: projects. Give it a short name such as NeonProps: the name becomes the folder your prop’s game files live in.
1. Describe it
- Click the EF icon in the activity bar. On the Desk, press Generate from Words….
-
Type one object:
a battered cyberpunk vending machine with glowing product shelves and a cracked screen - Choose Draw it first.
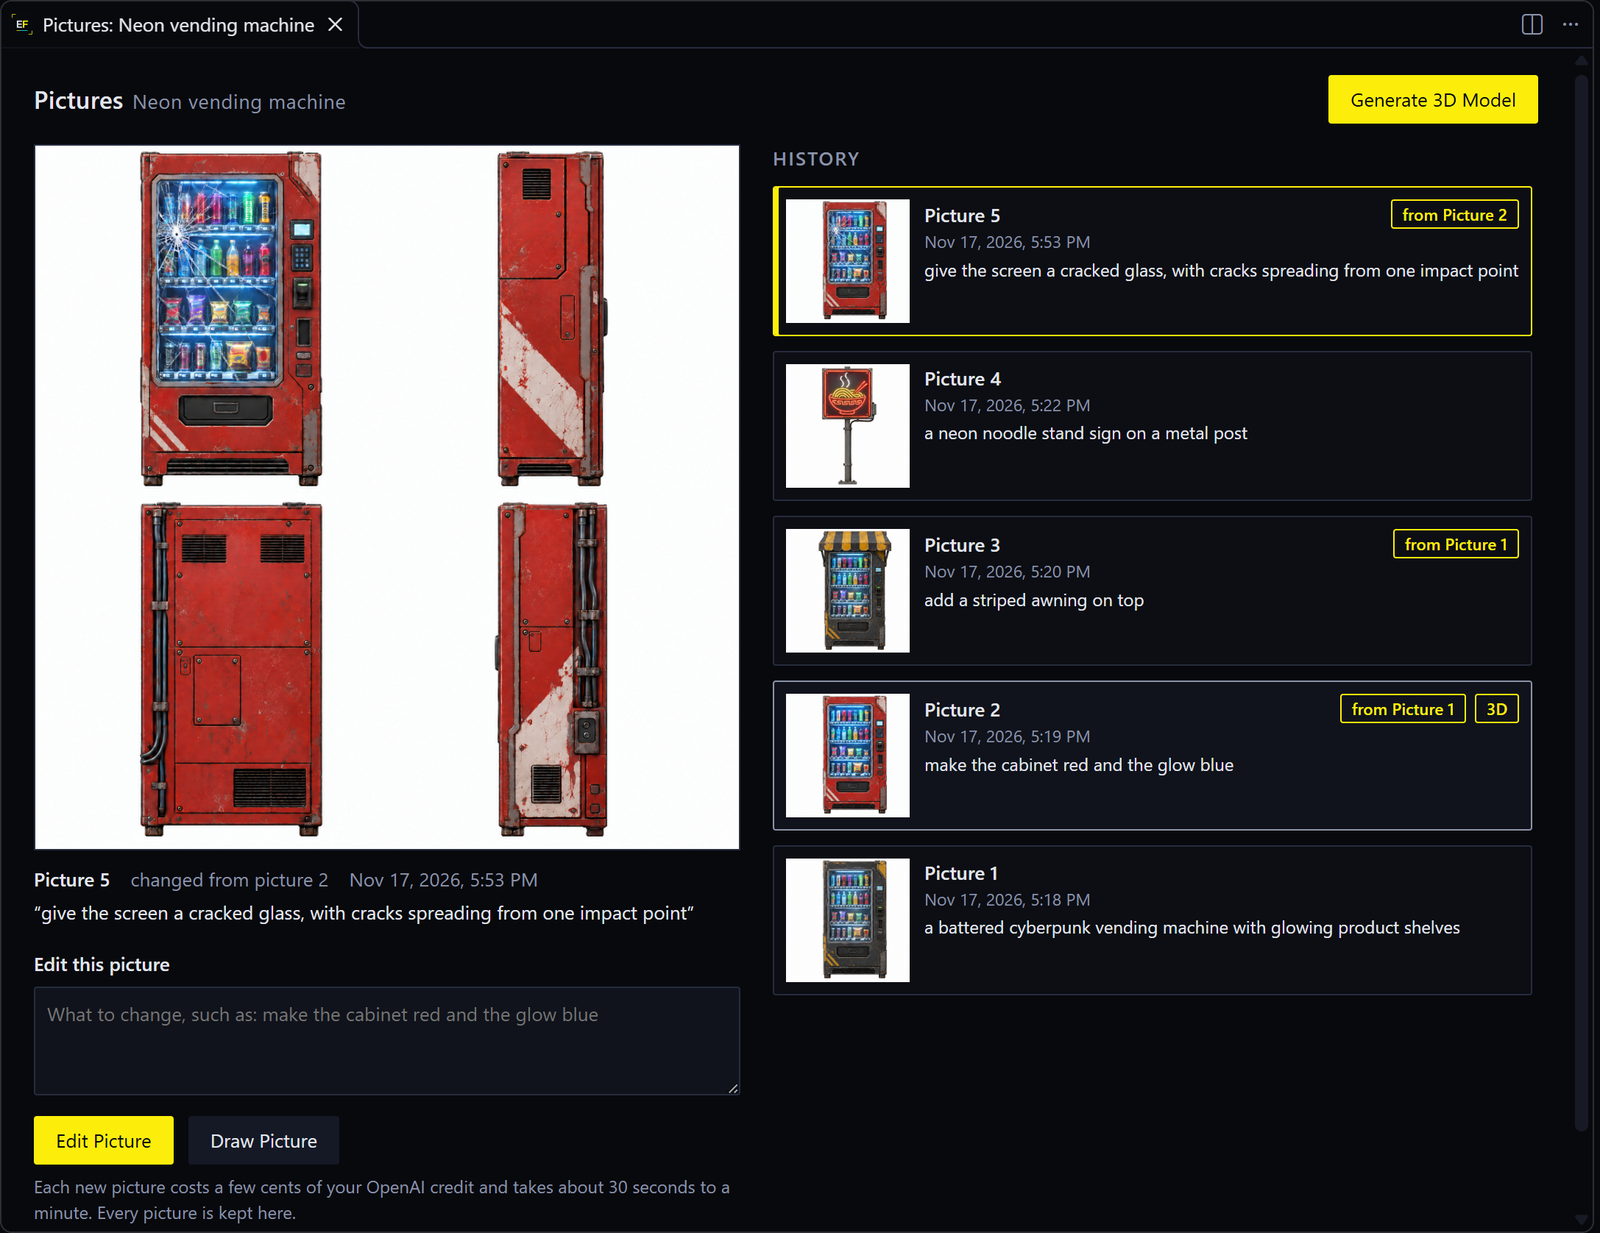
After about 30 seconds the Pictures tab opens with the machine drawn from four sides: front, left, back and right.
2. Change the picture until it’s right
Changing a picture costs cents. Changing a 3D model costs a new model. So get it right here.
-
In the box under the picture, type only what should change:
make the cabinet red and the glow blue -
Press Edit Picture (or
Ctrl+Enter).
A new picture appears and the first one stays in the History at the right. Click any picture there to look at it again, or to change that one instead. More on this: Pictures.
3. Make it 3D
- With the picture you like in view, press Generate 3D Model.
- Choose Detailed texture.
- Type its height in metres:
2.0. - EDGEfab shows the cost and your Tripo balance. Press Generate 3D Model.
Tripo takes 3 to 4 minutes. When it’s done, the line on the Desk becomes a model, and a message says how many parts and levels of detail it has.
4. Look at it in 3D
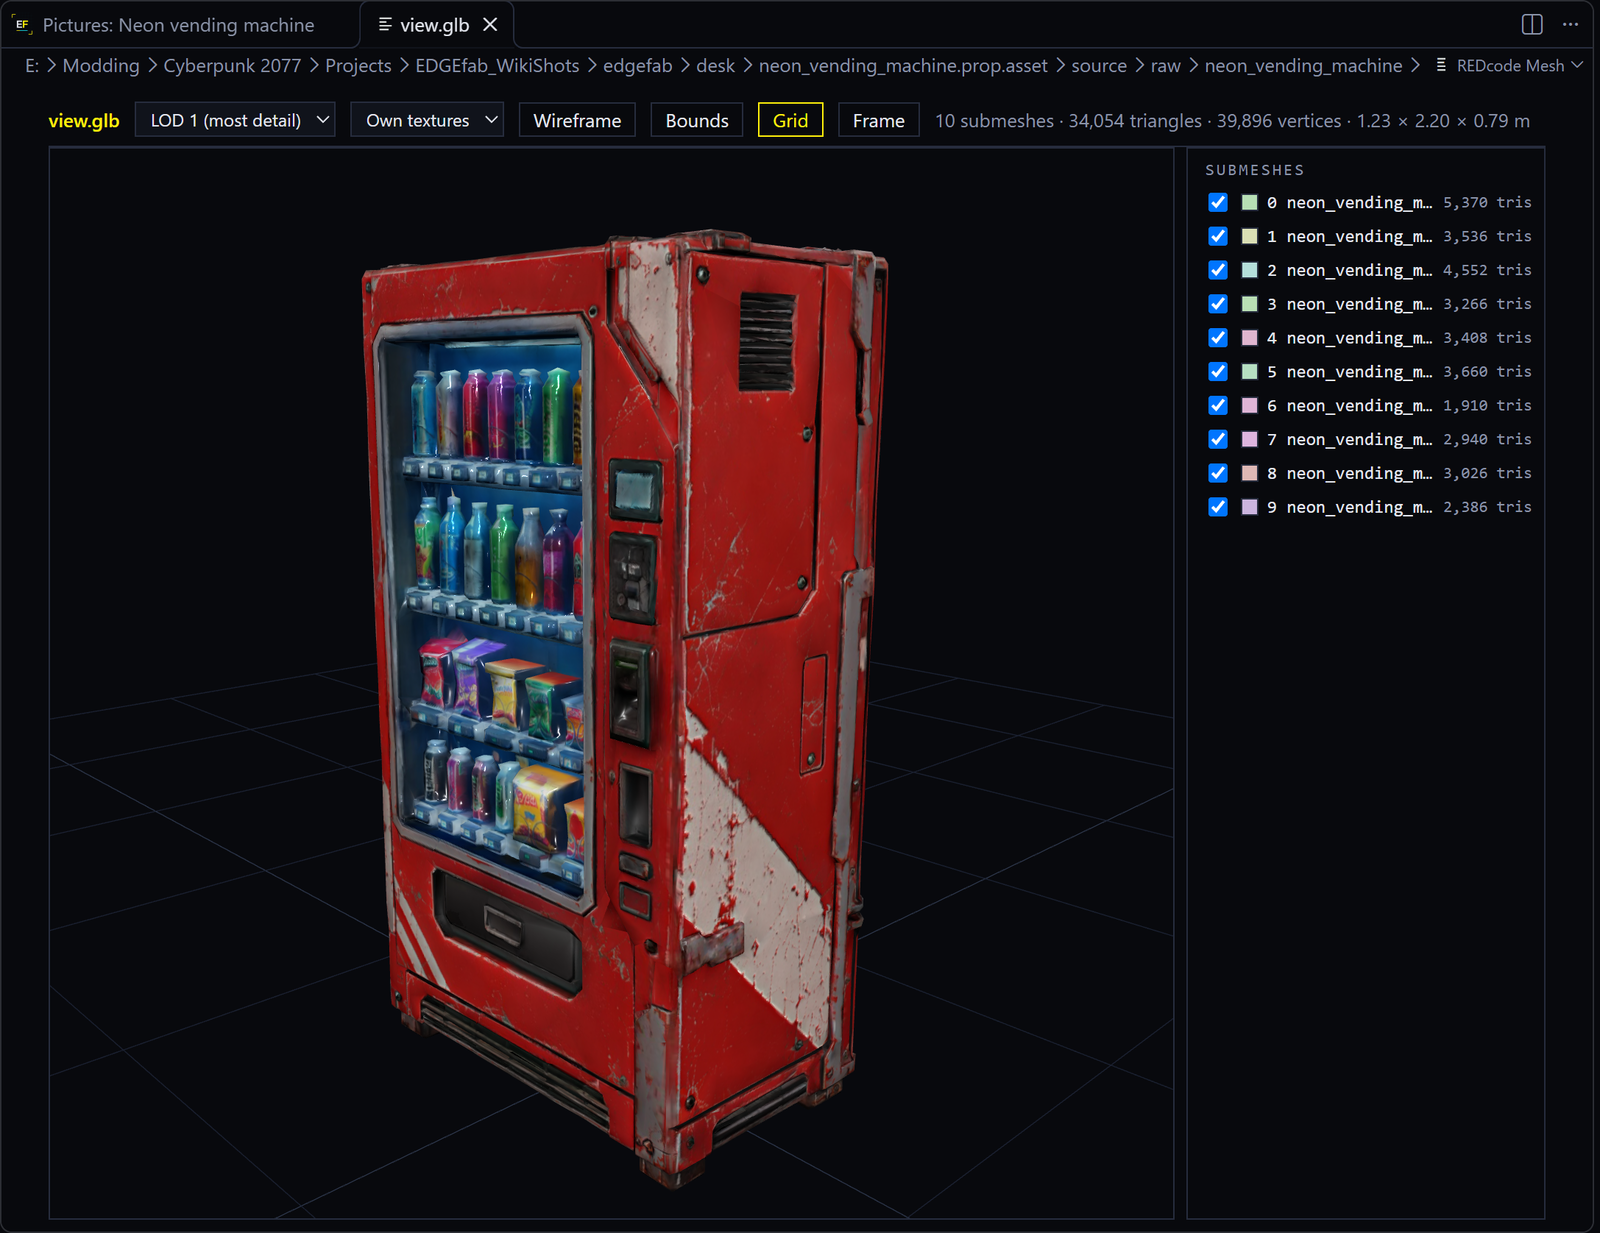
Click the prop on the Desk. It opens in REDcode’s 3D view, with its textures. Turn it, hide a part and show it again, and step through its levels of detail.
5. Make its lights glow
Tripo’s lights are only painted on. To make them shine in the dark:
- Right-click the prop on the Desk, Make the Painted Lights Glow….
- Choose The lights, then Bright.
The 3D view shows the shelves lit. If it caught too much, do it again with A few lights.
6. Name it
Right-click the prop, Rename…, and type Neon vending machine. Its files become neon_vending_machine, which is what you will search for in the game.
7. Add it to your project
Right-click the prop, Add to Project. This takes a minute or two: EDGEfab writes the mesh, makes a game material for each part and builds the entity. The message at the end reads:
EDGEfab added Neon vending machine to NeonProps, solid (a physical mesh with a box).
Place neon_vending_machine.ent with EDGEbuilder, or spawn it.
What it wrote, and where: Add to Project.
8. Get it into the game
| The game is | Do |
|---|---|
| Running, with REDnode’s MCP server on | Press Pack and Play (the flame button at the top of REDcode’s Project view). REDcode packs the mod and REDnode swaps it into the running game. No restart |
| Not running | Press Pack and Play too. REDcode packs the mod and installs it for the next game start |
The first swap asks for your OK inside the game. More: REDcode: packing.
9. Place it
In the game:
- Press F10 and open EDGEbuilder.
- Open Assets, the Mods tab, then Entities.
- Type
neon_vending. Your prop shows with its size and your project’s name. - Face an open spot and press Drop where I look. Press F10 to close the overlay.
Walk into it: V stops. Jump on it. Walk away and back: it looks the same as the detail drops. EDGEbuilder keeps it there in your scene: EDGEbuilder.
What next
| To | See |
|---|---|
| Keep the prop for other mods | The Library |
| Change its size or its glow | 3D models |
| Give one part a game material, such as car paint or glass | Add to Project |
| Do all of this by asking Claude | Assistants |