Your first scene
This walk-through makes a small scene: one of the game’s characters does two things in a row, joined so they move as one. It takes about fifteen minutes and needs no game running. You need EDGEdir installed and the game read.
| Step | |
|---|---|
| 1. Make a scene | On the Desk |
| 2. Choose an actor | One of the game’s characters |
| 3. Add two animations | From the Animations view |
| 4. Watch it | In the 3D preview |
| 5. Join the clips | With a transition |
| 6. Save, and what next |
1. Make a scene
In EDGEdir’s Desk view click New Scene and type a name, such as Alley talk. The scene opens in the editor: an empty timeline with a 3D view above it and an inspector at the right.
Click Add Track in the toolbar and choose Actor. A lane appears. A track is one lane of the timeline; an actor track is one person.
2. Choose an actor
Click the lane’s name at the left, then Choose Actor… in the inspector. A list of your game’s characters opens. Type part of a name, such as judy, and pick one. For most characters a second list asks for an appearance, one of the looks that character has in the game; pick one, or let the game pick.
The track takes the actor’s name, and their body appears in the 3D view as a plain grey figure. The first time, EDGEdir fetches the body from your game’s files, which takes a few seconds.
3. Add two animations
Open the Animations view. Turn on Only What Fits the Selected Actor in its title bar (the filter icon): now it lists only animations made for your actor’s skeleton.
Click the magnifying glass and search for something a person does, such as wave or sit chair. Words are matched in any order. Each result shows how long it is.
With the actor’s track selected and the playhead at the start, click the + on an animation (Add to Track). A clip lands on the lane at the playhead, as long as the animation. Add a second animation: move the playhead to the end of the first clip (click on the ruler above the lanes) and click + on another.
Not happy with a choice? Select the clip and press Delete, then add another. Ctrl+Z takes any change back.
4. Watch it
Drag the playhead along the ruler. The body takes the pose of that moment. Press Space to play, and Space again to stop.
In the 3D view, drag to orbit, drag with the right button to pan, and scroll to zoom. Frame in its corner brings everybody back into view.
At the join between the two clips the body jumps from the end of one animation to the start of the next. The next step fixes that.
5. Join the clips
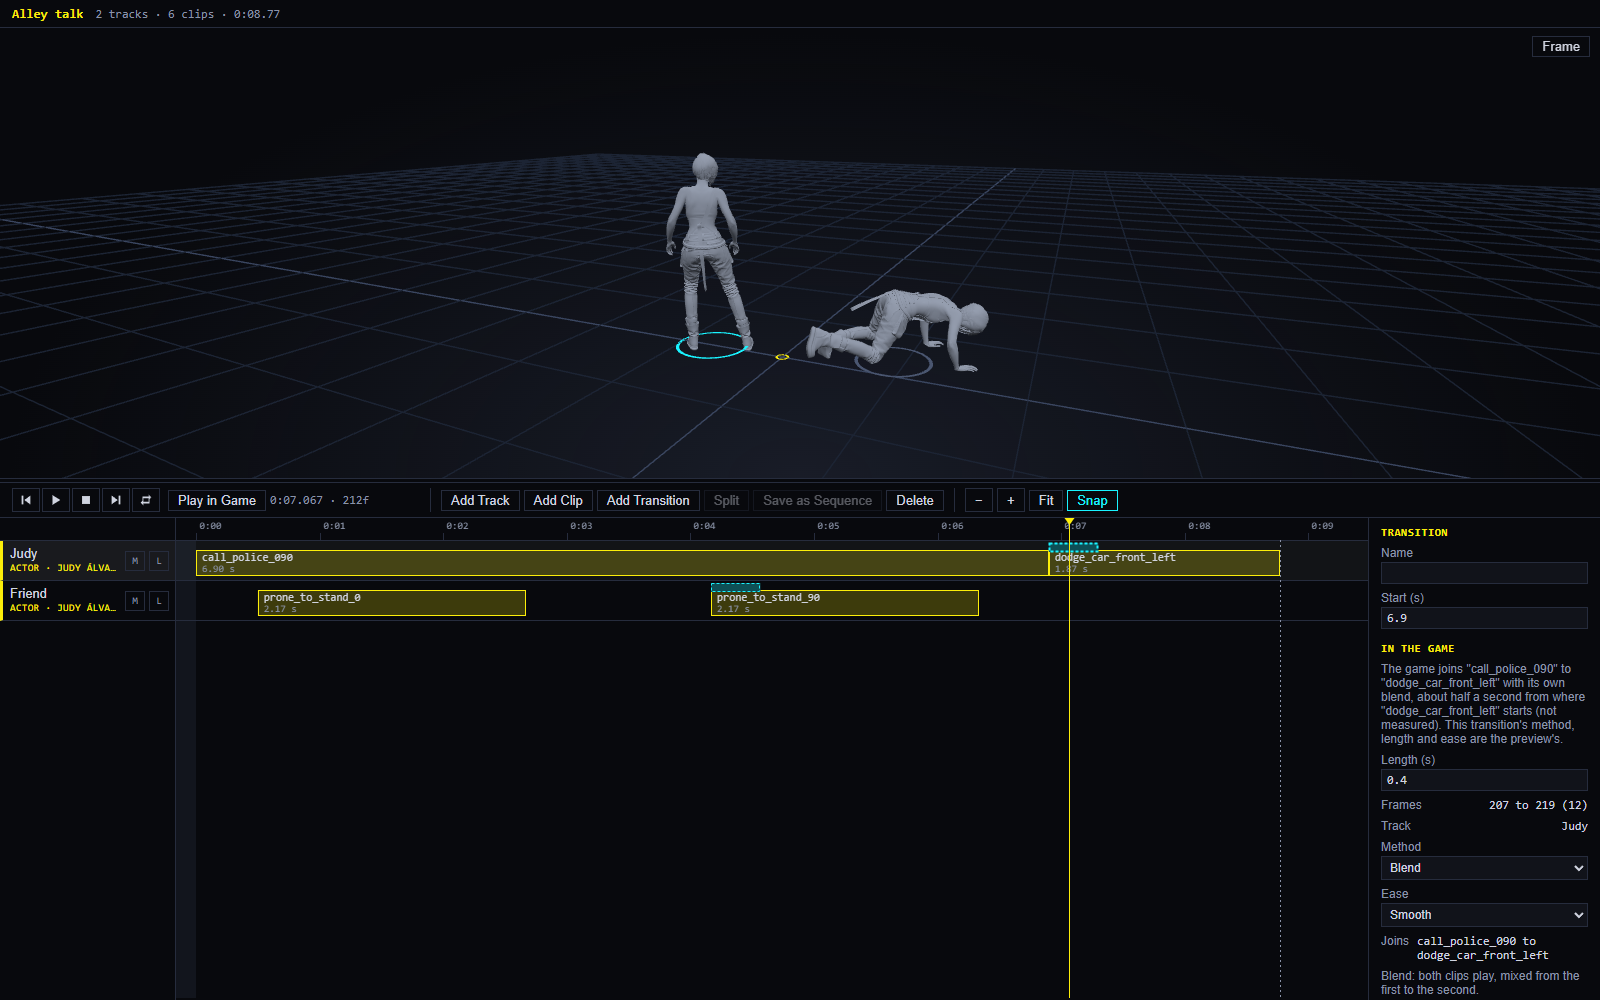
Put the playhead near the join and click Add Transition. A short bar appears over the join. Drag the playhead through it: the body now moves from the first animation into the second with no jump.
Select the transition to see its settings in the inspector. Method is how the two are joined: Blend mixes both while the bar lasts; Inertial plays the second at once and fades out the difference. Try both and keep the one that looks better for these two animations. More on Transitions and sequences.
6. Save, and what next
Press Ctrl+S. The scene stays on the Desk and is listed there whenever you open VS Code.
| Next | Page |
|---|---|
| A second actor, and placing the two | The 3D preview |
| Everything the timeline can do | The scene editor |
| See it on real people in the game | Playing in the game |